
Work in Progress - Van Build
In the Winter of 2015 I was not expecting to be awarded a monetary grant in the name of hugely influential designer, Bill Moggridge. To this day I am tremendously grateful and humbled. Part of the award, I decided would go toward a project involving the customization of a 1989 Toyota Van.


When I first saw one of these vans, I’m sure I thought it was absurd, ugly, a joke. Its so narrow and tall, and looks more like a mono rail engine or an egg than a van. I like to think that my eventual complete admiration for these vans is due in part to my mind changing and becoming open to the fundamental principle of good design: that form follows function. In my twenties when my band was in need of a vehicle to take us and our gear to shows, I was suddenly able to see past the weird look of these vans, to their extraordinary functionality. Suddenly, They didn’t look so embarrassing.


I found my second van (the blue one,) on a craigslist ad in Portland, and bought it on break from CCA that same Winter I learned of receiving the Bill Moggridge award. I drove it South when classes resumed in January. I used it many times for transporting materials, and generally started to get a sense of what kind of space I wanted to create.
When I graduated in June 2017, I dropped everything and built what I was envisioning at that point.
First Iteration
That first build was designed to still utilize the van as a cargo vehicle when not being used as a camper. The build was heavy, robust, and fully removable.


I owe many thanks to my then employer The Good Mod, for allowing me to work in their shop after hours (See my page about work I created at TGM.) As a first iteration, this was a success. I was able to spend as many as two continuous weeks camped out in the van, and was still able to transport a 4x8 sheet of plywood when necessary.
Current Iteration
The goal of this next iteration is to build for a more extended stay. From 2020 to 2022 I had the pleasure of working with off-grid energy design company Just Roaming as their lead woodworker.


I learned about securely fastening cabinetry inside a vehicle. I also learned plenty about electrical wiring, plumbing, body work, and got a lot of great ideas for my own project.
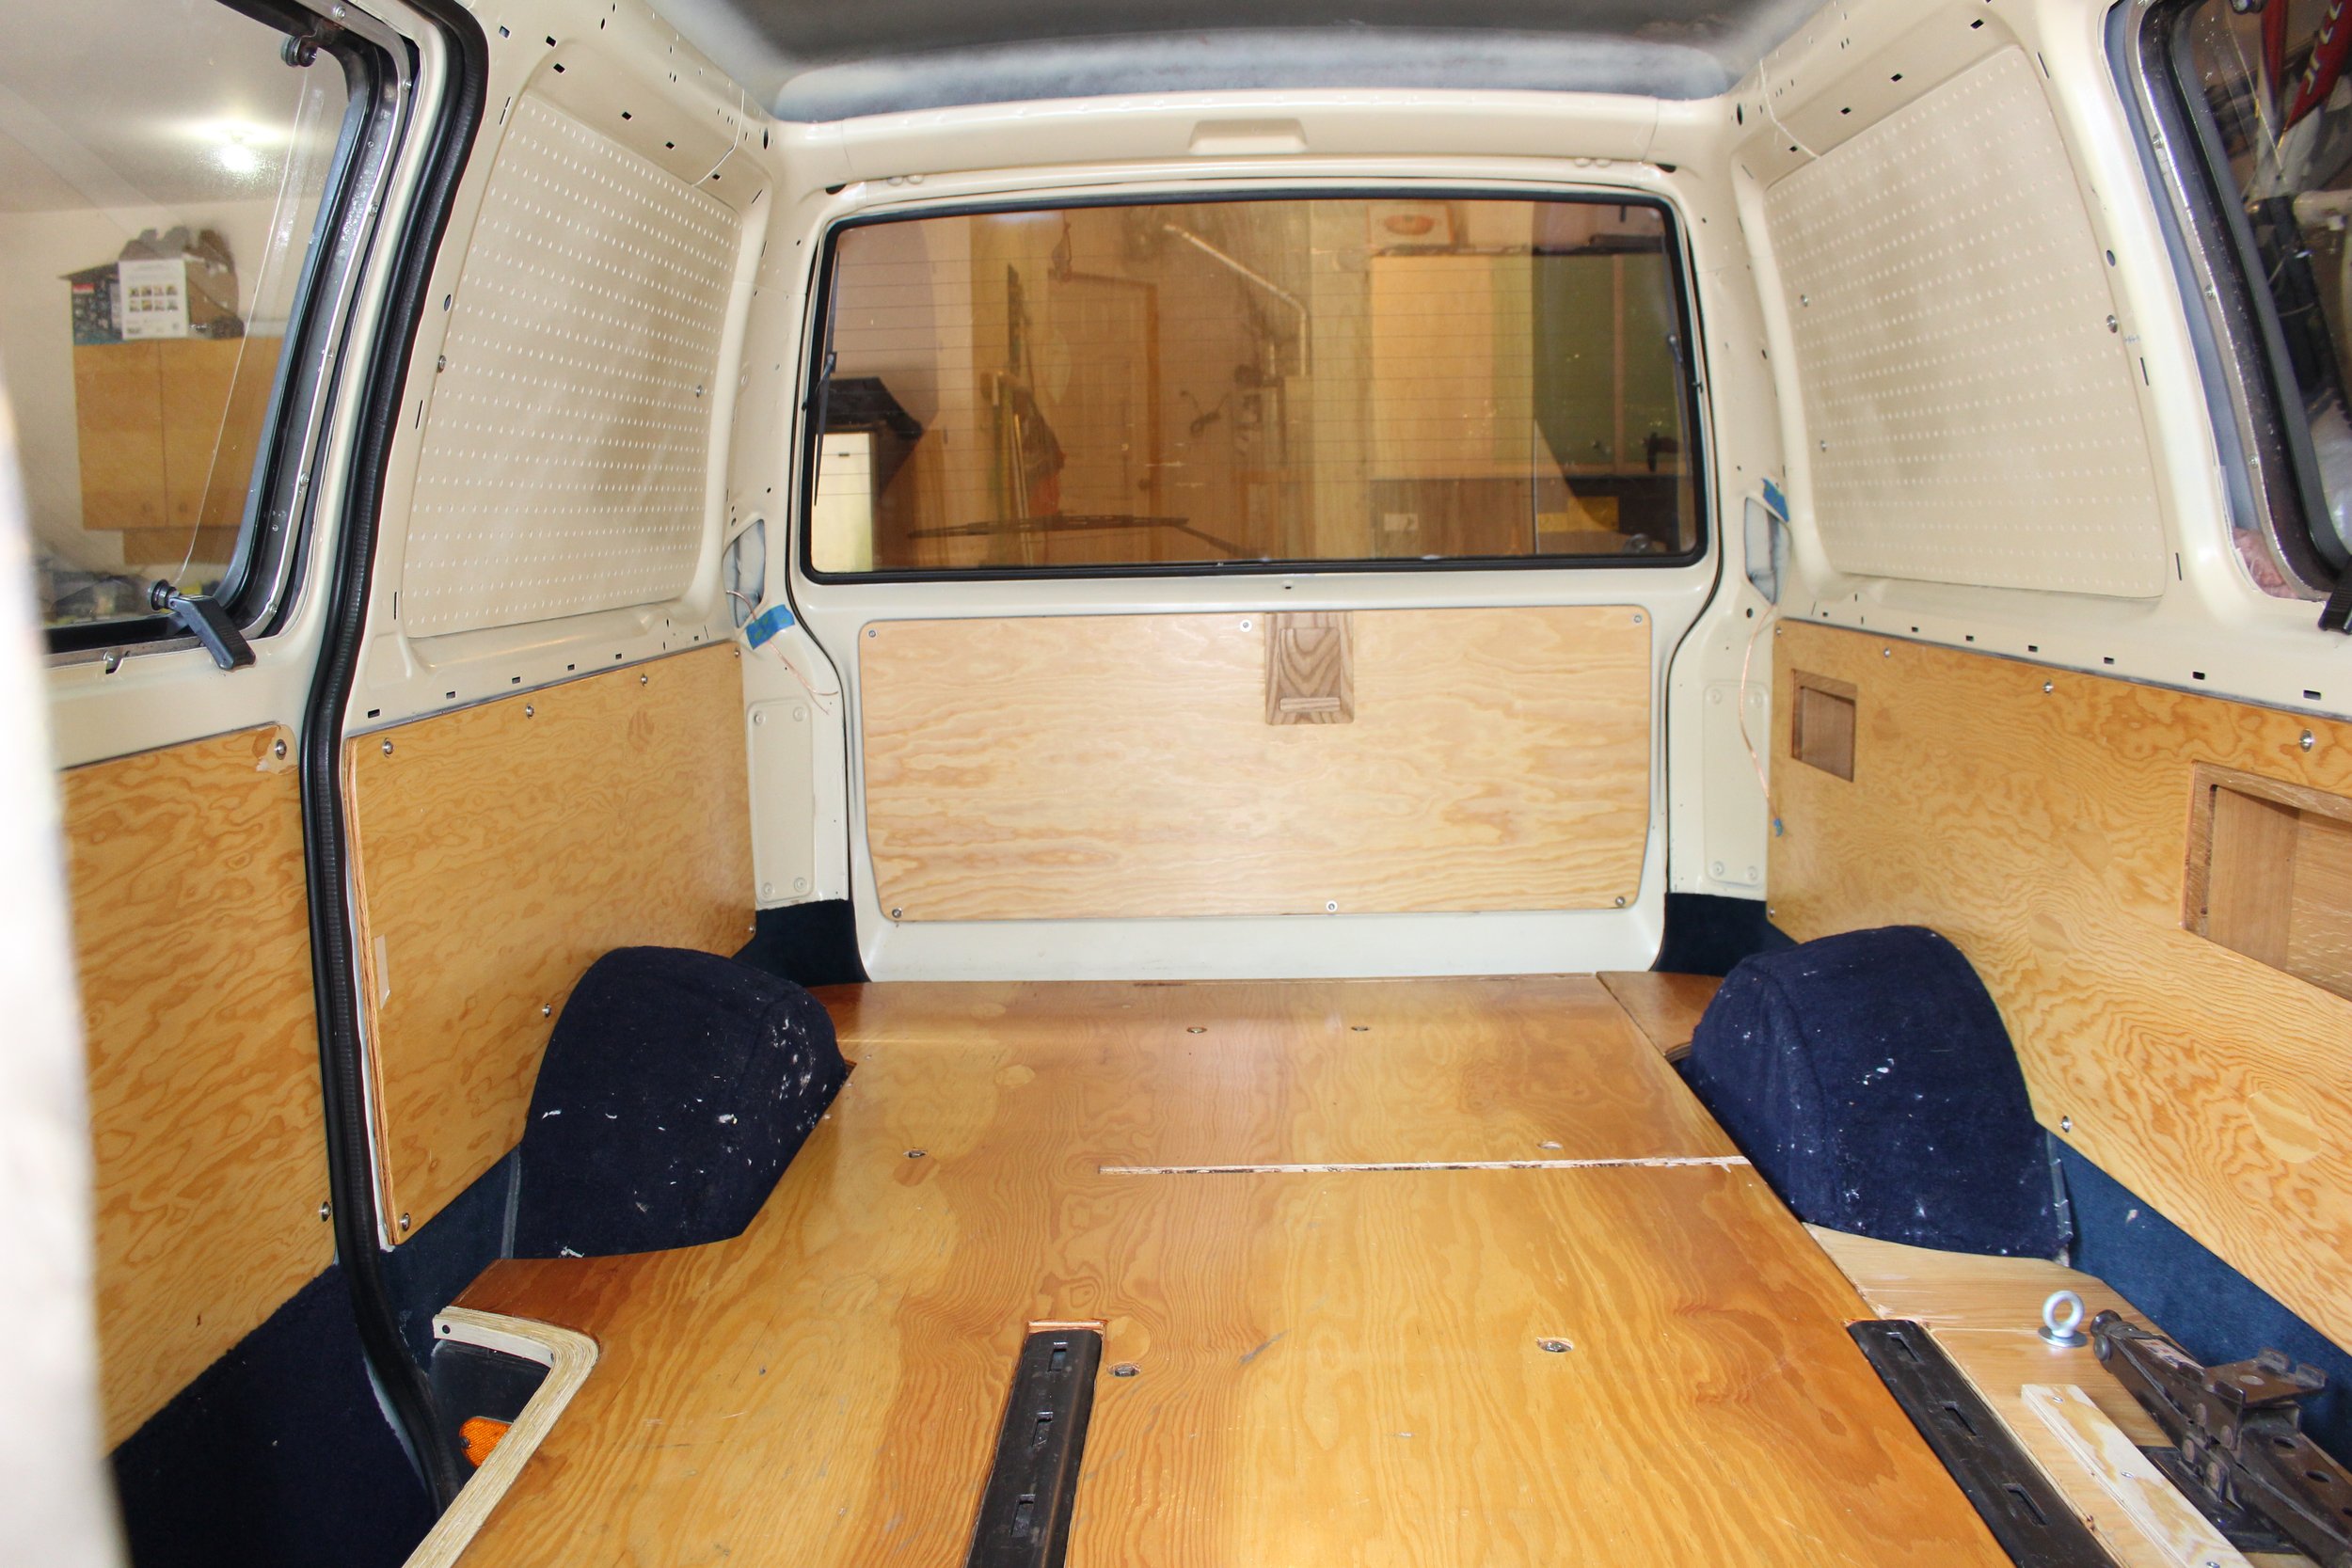
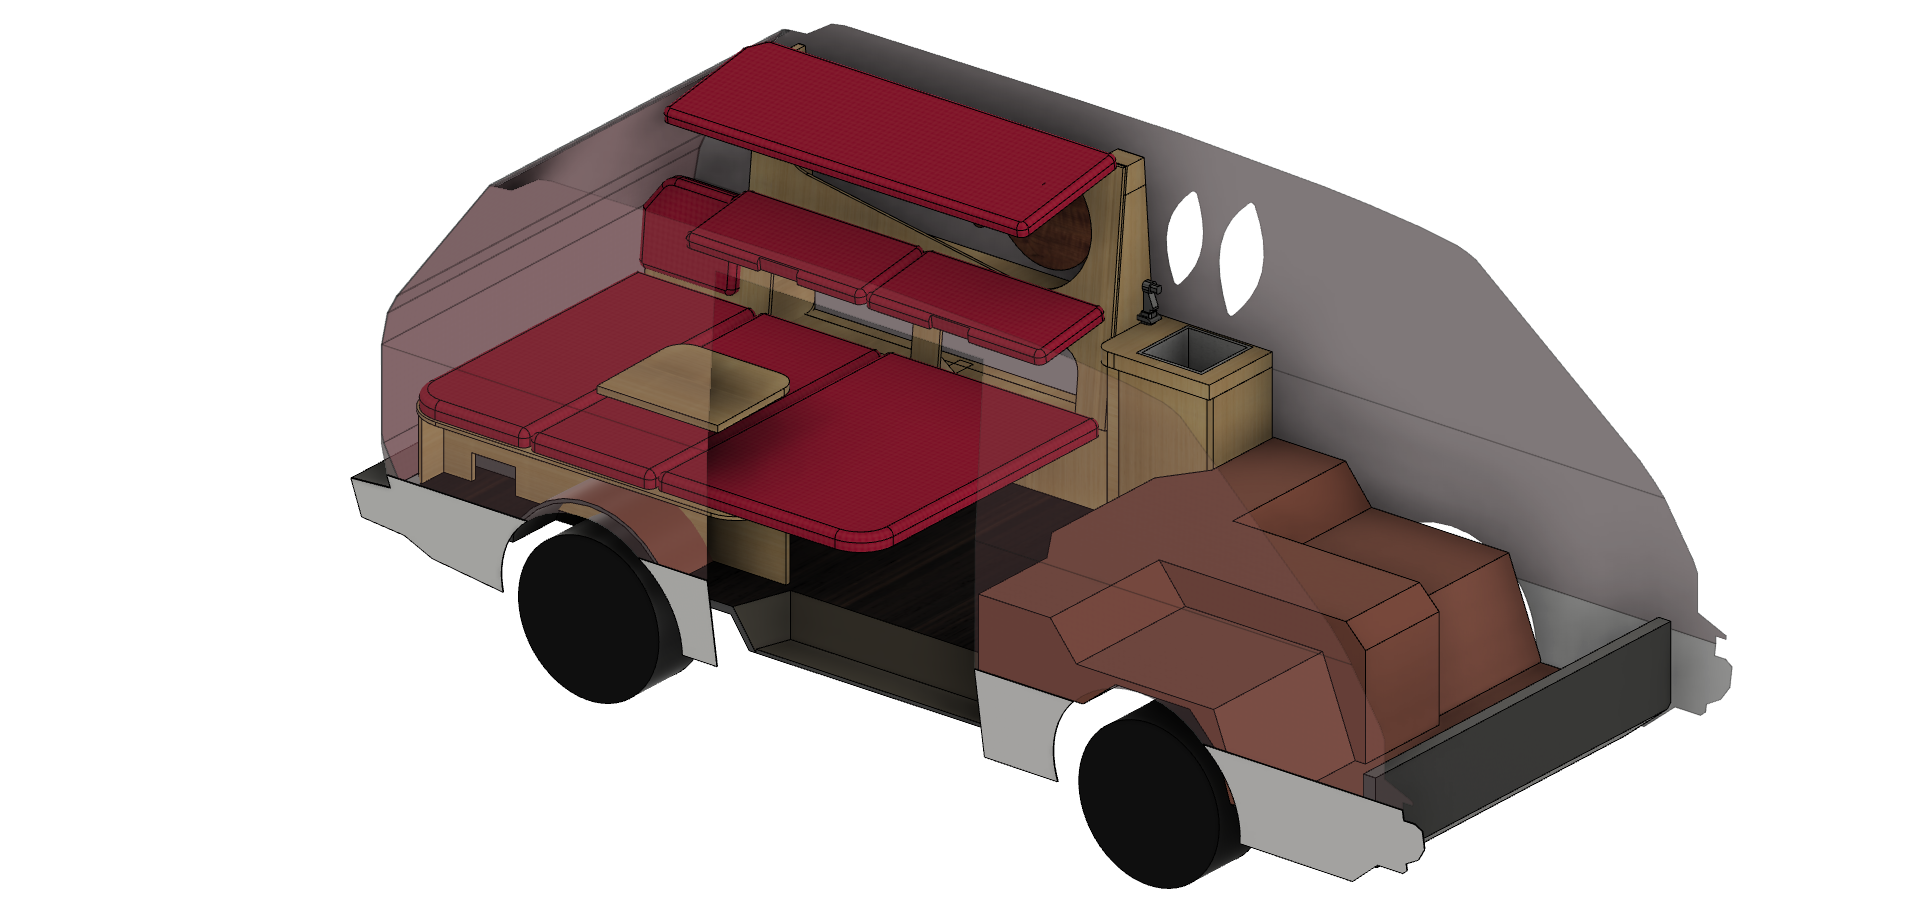
PHASE 1: INTERIOR

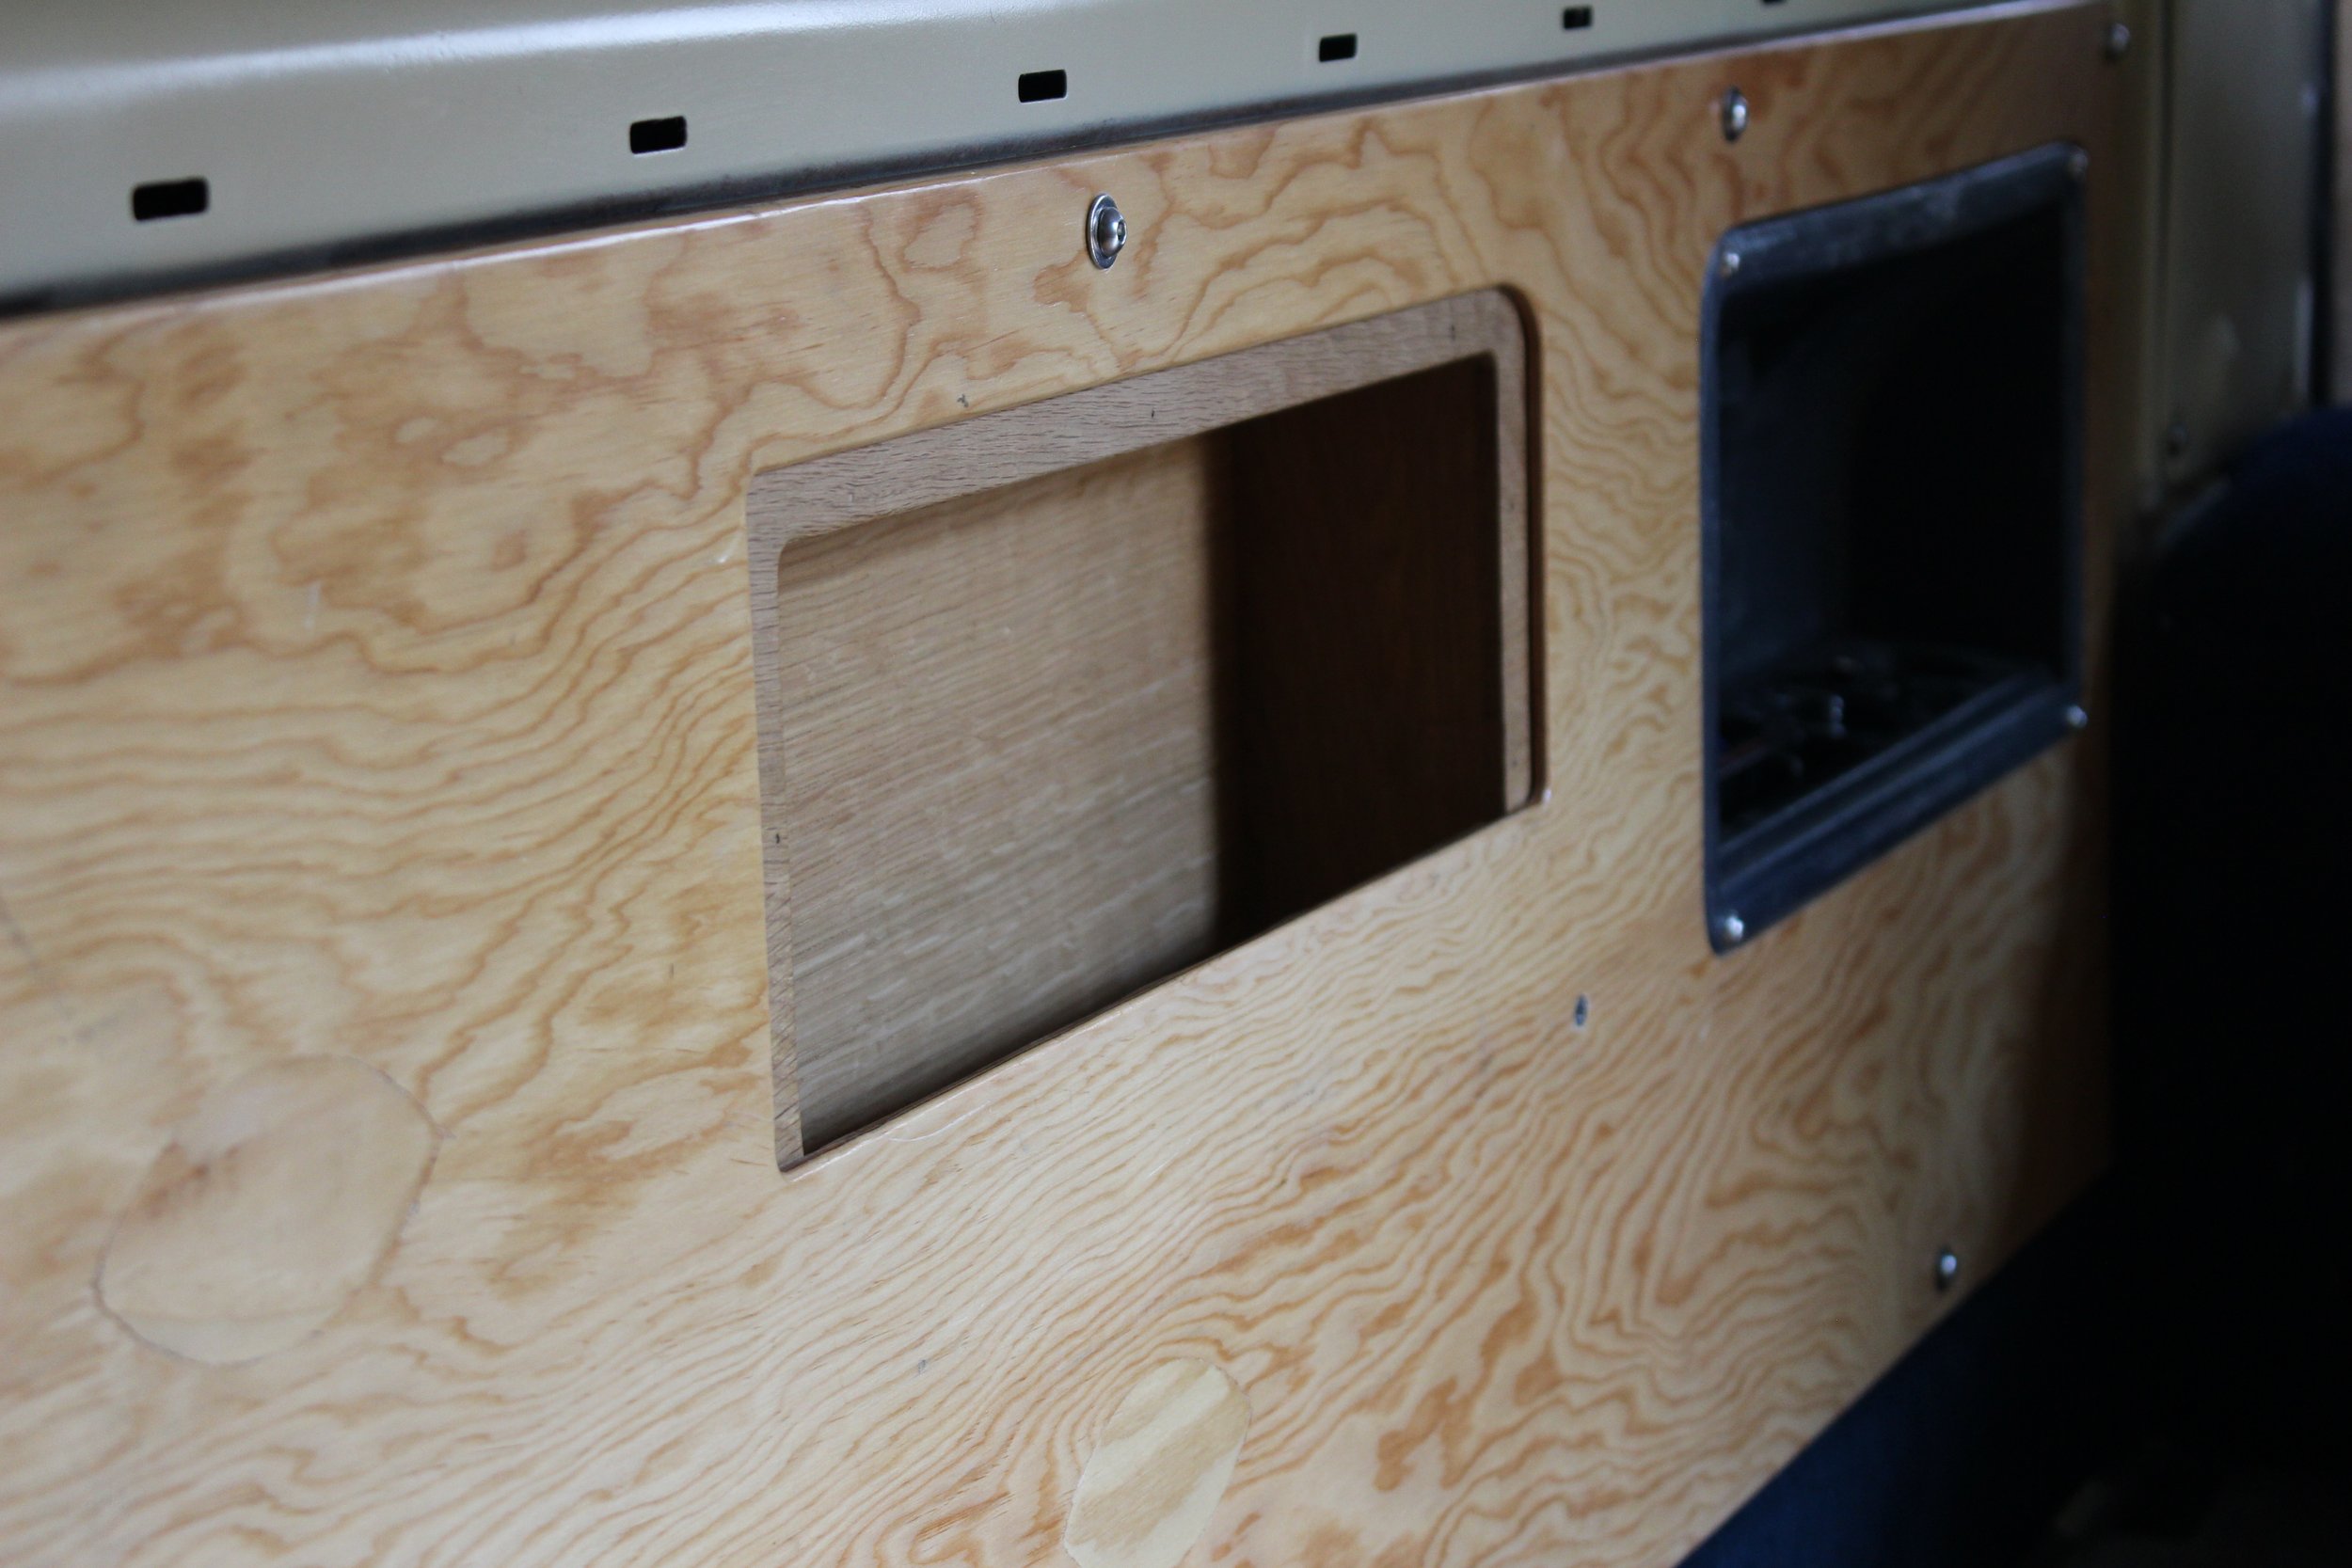
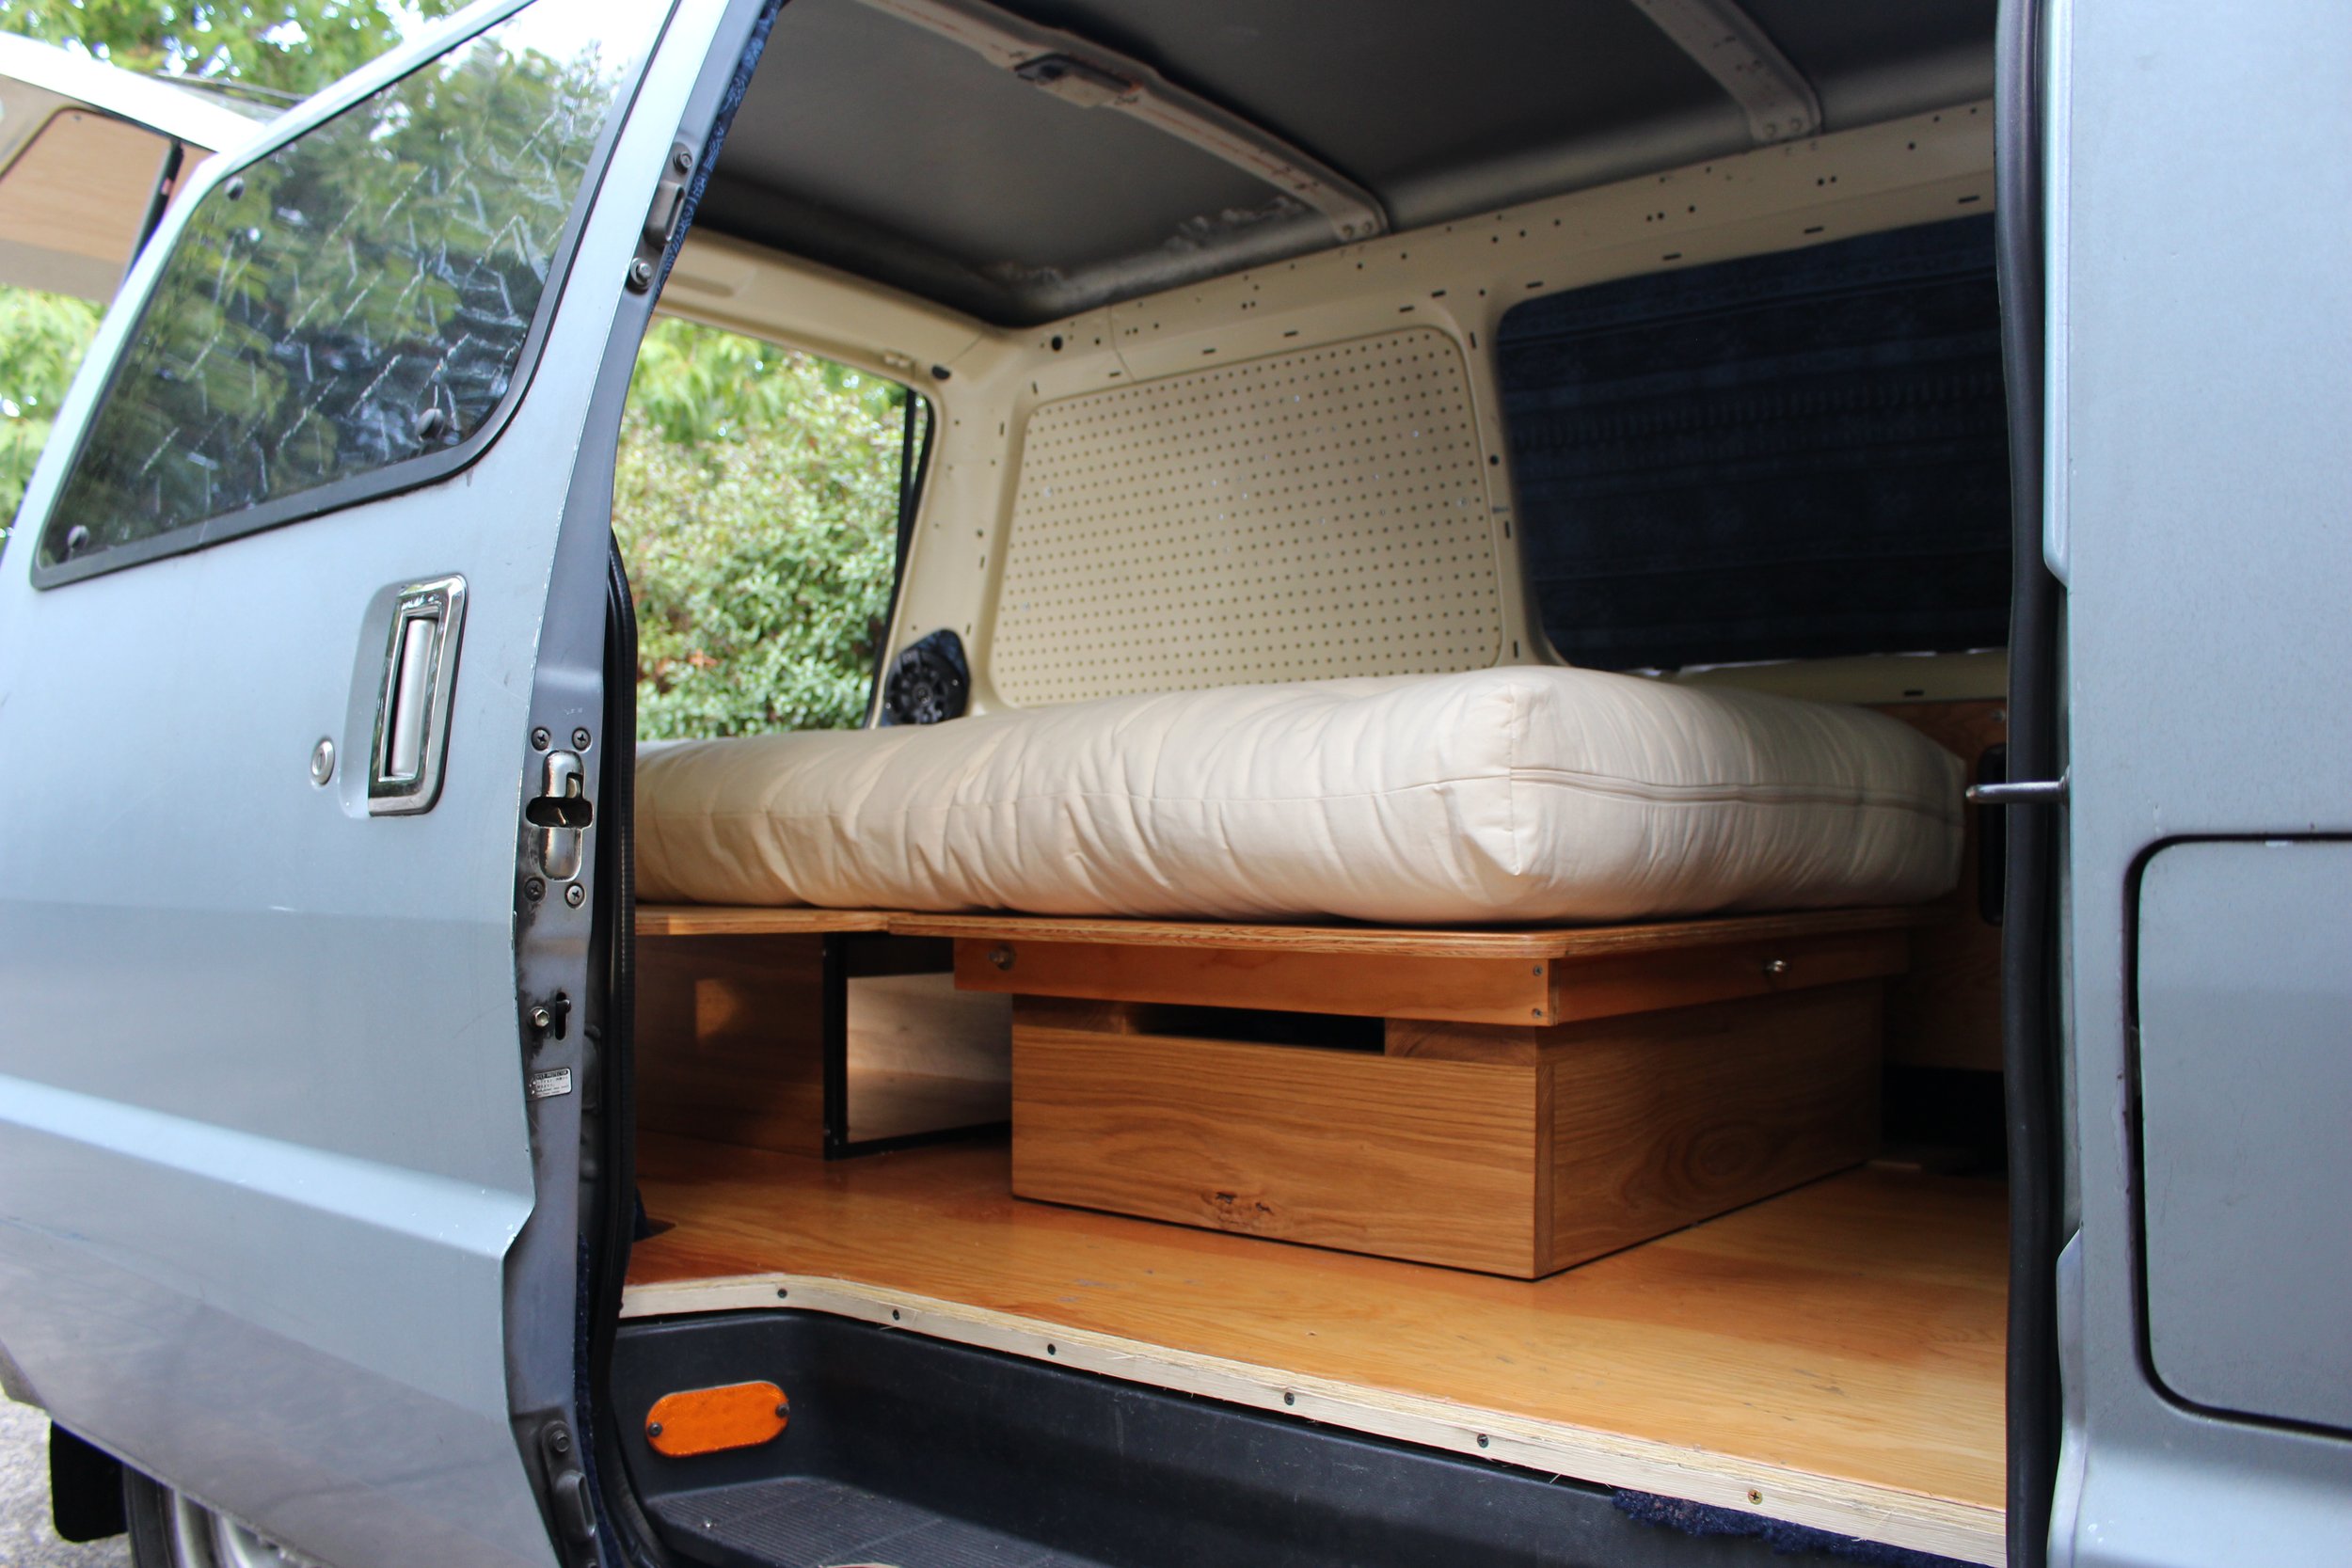
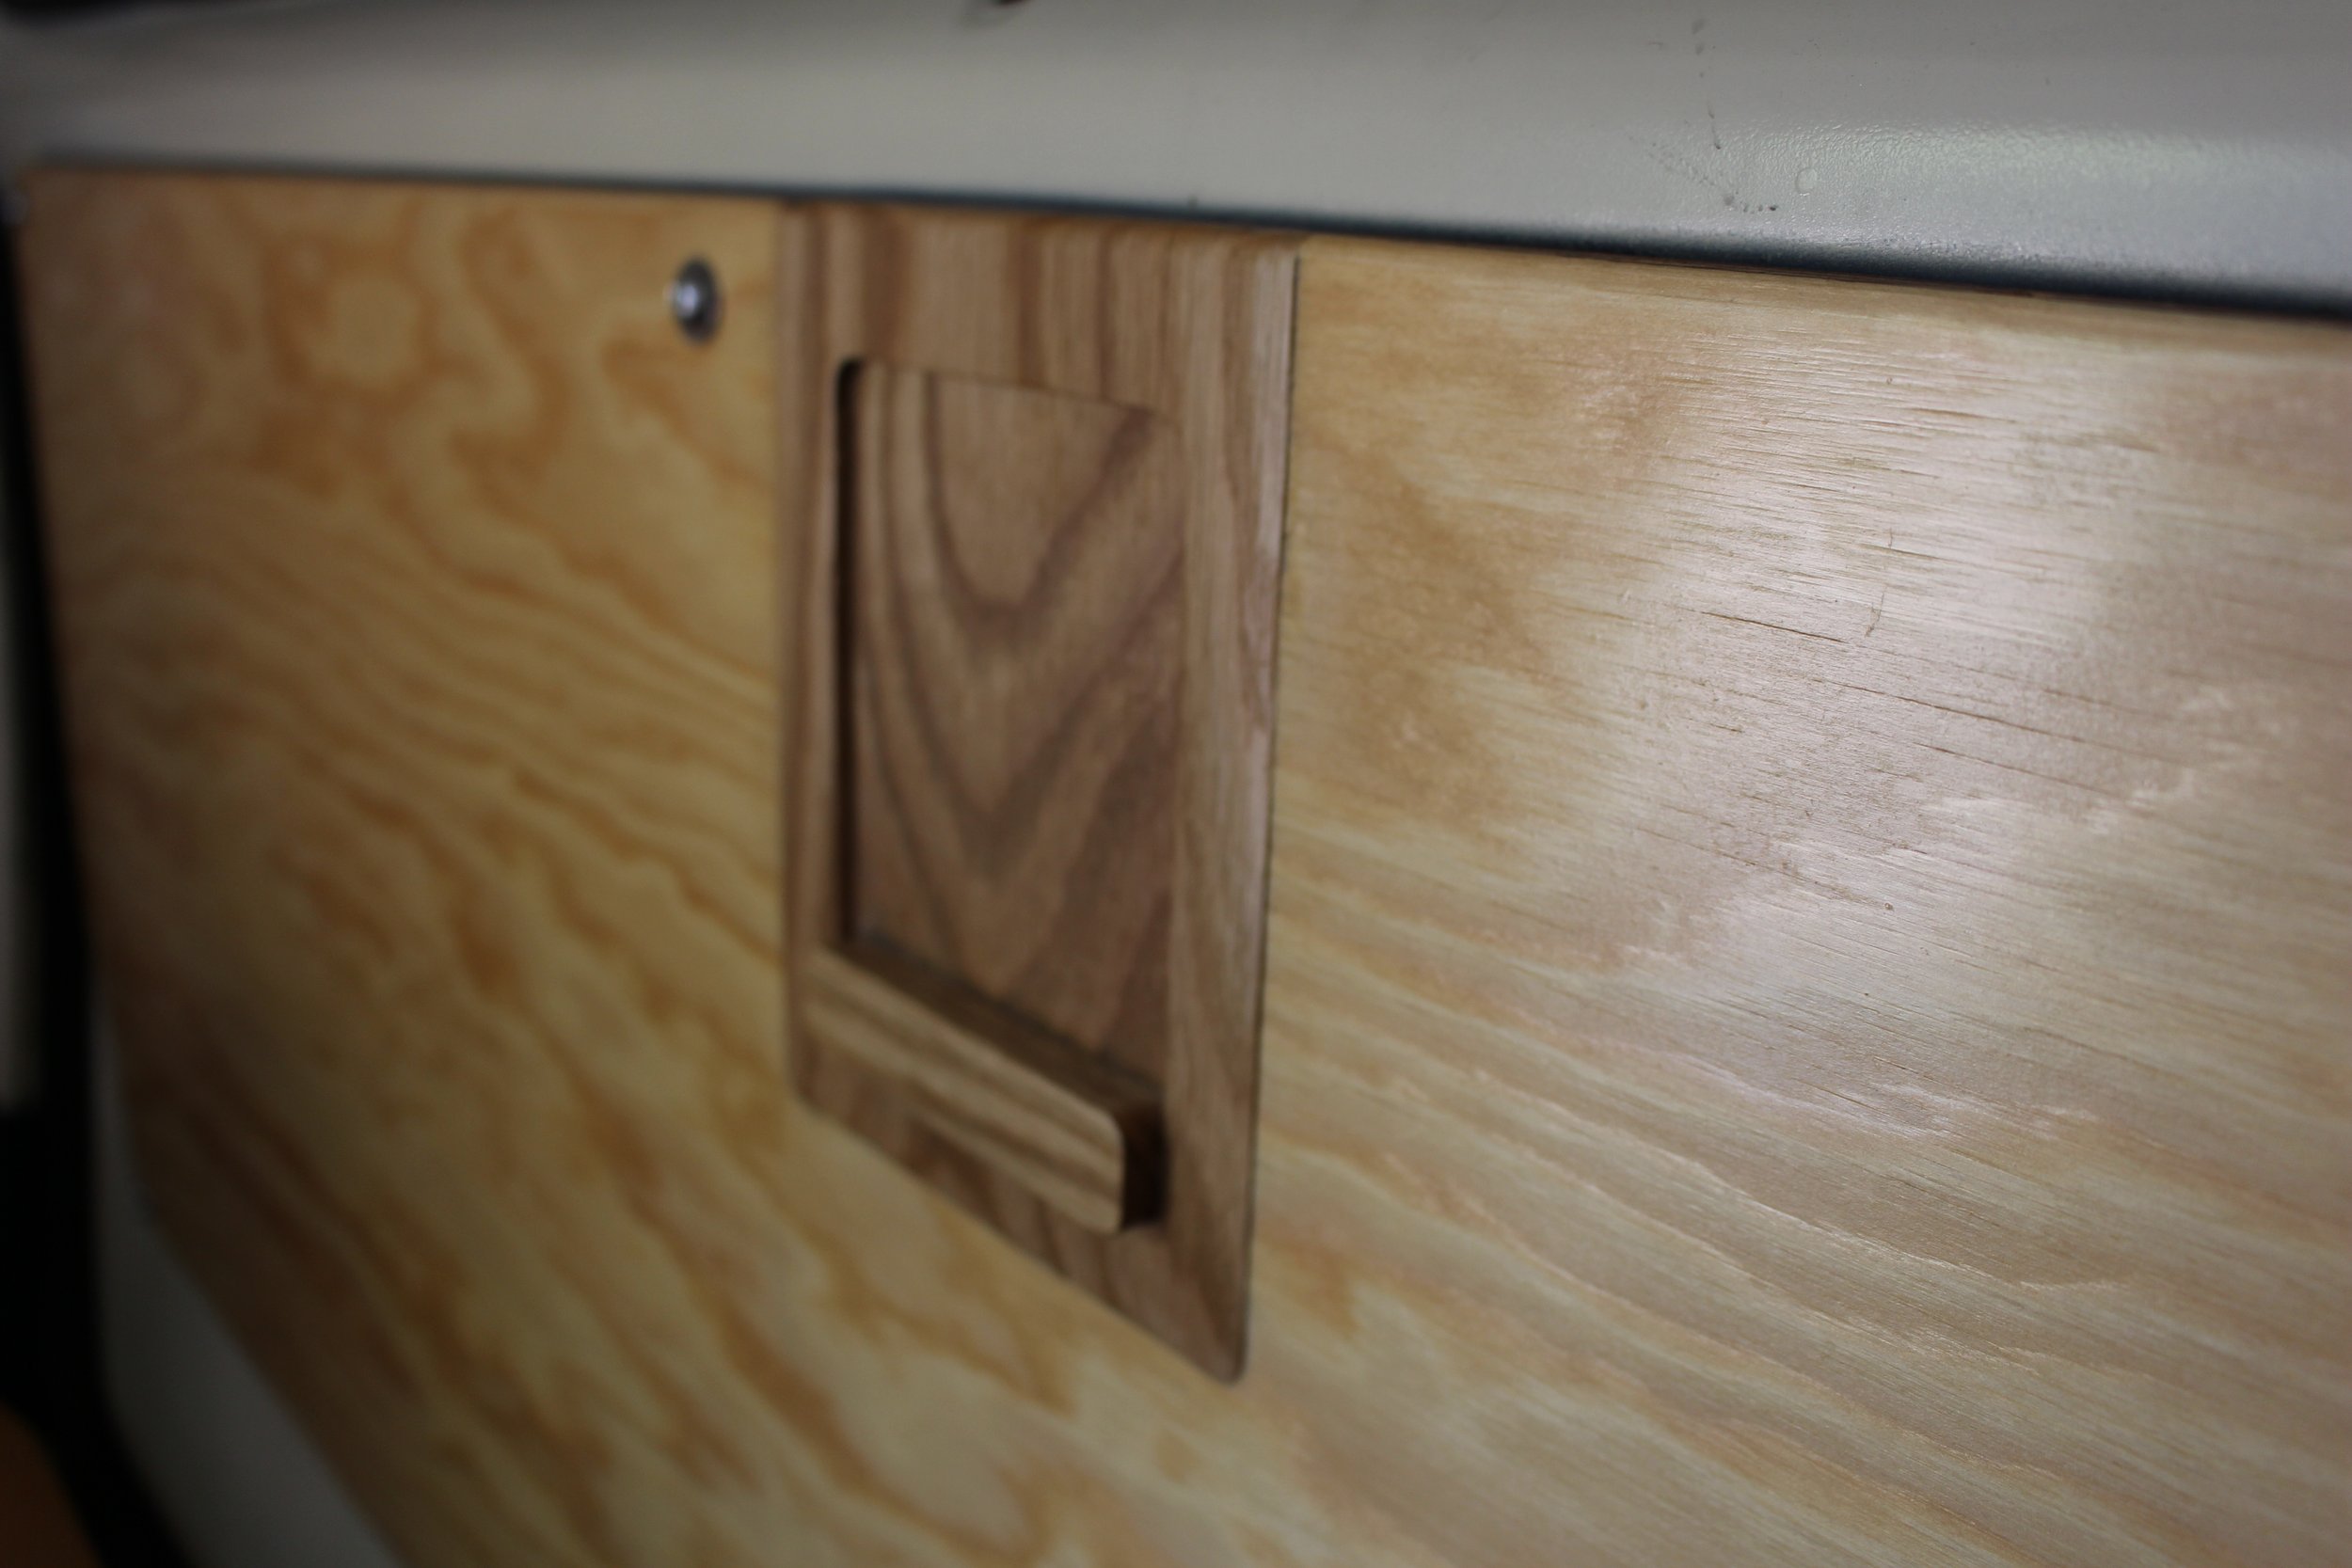
The design of the interior revolves around maximizing space (keeping cabinetry light, low to the floor and close to the wall) while including a big enough bed, safe stowage space for a guitar, a variety of sitting options, hot water, heating, AC power and ample storage.


(Getting a general starting point for designing for ergonomical function)
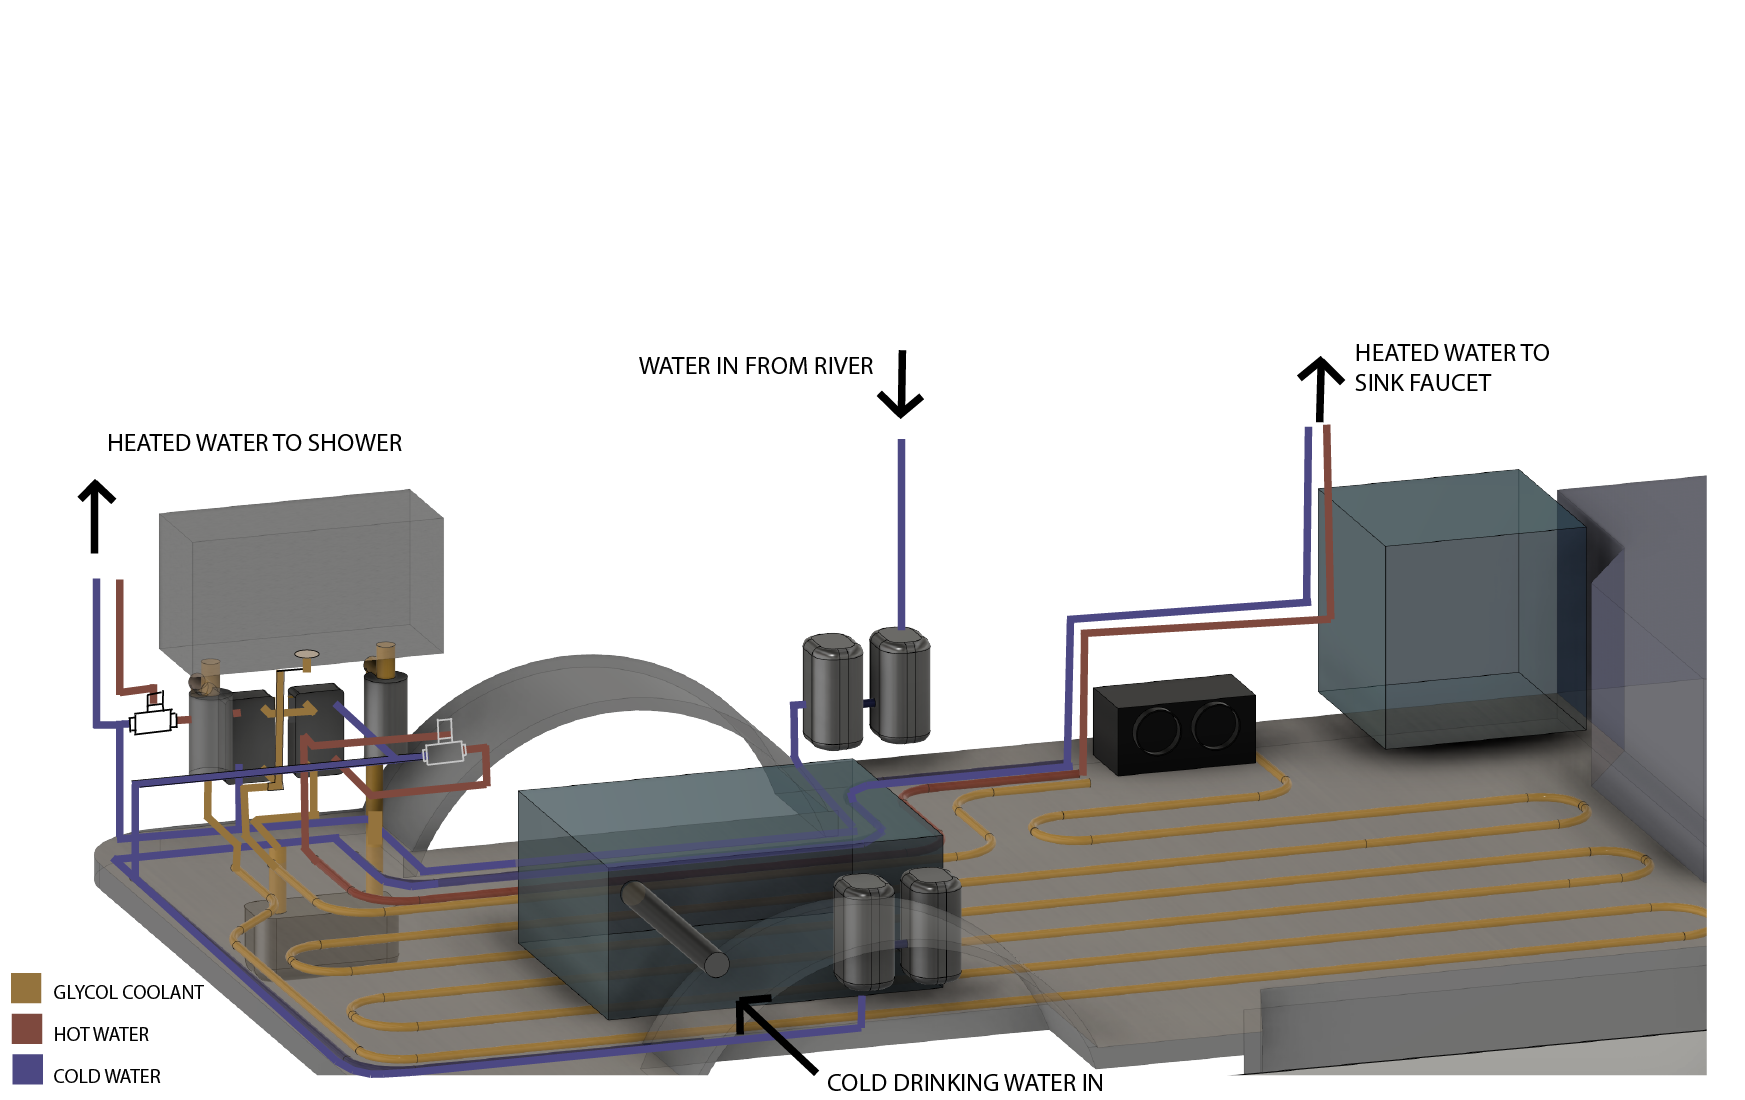
PLUMBING/HEATING

Hot water is integrated in to the heating system. I had much help designing a system from my friends at Just Roaming Design. Glycol coolant is heated via a gasoline heater mounted under the van floor. The coolant then heats the cabin, and water, which are strategically routed through the van via PEX tubing. Components are enclosed in cabinets, and all tubing is either enclosed in cabinets or embedded inside the floor. In the case of a leak, electrical components will be isolated from damage to a high degree.


The second phase of the build will entail building: an aluminum rear bumper rack for a ‘kitchen’, fabricating an aluminum tubing roof rack , and painting the exterior. The rear rack containers will house two five-galllon propane tanks, cooking utencils and a gasoline tank for the hydronic heater.
PHASE 2: EXTERIOR
Before starting the second phase, I have recently decided to seek out a four wheel drive model of this van. The whole point of this build is to escape from the grind, to get off the grid. There is only so much solace that can be acquired in a 2wd vehicle. Cabinetry and the floor from phase one will be installed in a way that isn’t permanent, so it can be eventually moved to a 4wd Toyota Van.